How To Use NTFS Write Support (ntfs-3g) On Fedora 7
Version 1.0
Author: Falko Timme
Normally Linux systems can only read from Windows NTFS partitions, but not write to them which can be very annoying if you have to work with Linux and Windows systems. This is where ntfs-3g comes into play. ntfs-3g is an open source, freely available NTFS driver for Linux with read and write support. This tutorial shows how to use ntfs-3g on a Fedora 7 desktop to read from and write to Windows NTFS drives and partitions.
This document comes without warranty of any kind! I want to say that this is not the only way of setting up such a system. There are many ways of achieving this goal but this is the way I take. I do not issue any guarantee that this will work for you!
1 Preliminary Note
I have tried this on a Fedora 7 desktop with an external NTFS USB hard drive.
2 Using ntfs-3g
Fortunately, Fedora 7 comes with ntfs-3g preinstalled, so we can start to use it right away without the need to install or configure anything. So while you're sitting in front of your Fedora 7 desktop, plug in your external NTFS drive and switch it on.
After a few seconds (if nothing goes wrong), you should see a desktop icon for your NTFS drive (mine is called BACKUP), and a file explorer window should come up with the contents of the drive:
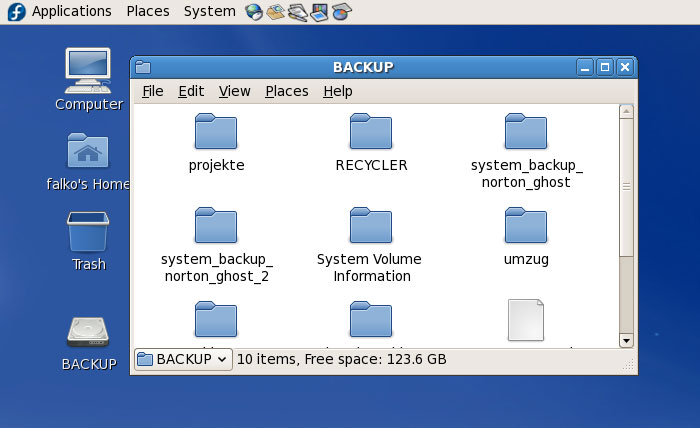
This means that we can at least read from the NTFS drive, but of course we want to know if the write support is working. To test this, you can go to any subfolder (or stay in the root folder) of the NTFS drive, right-click on the free space, and select Create Folder (you could as well select Create Document):
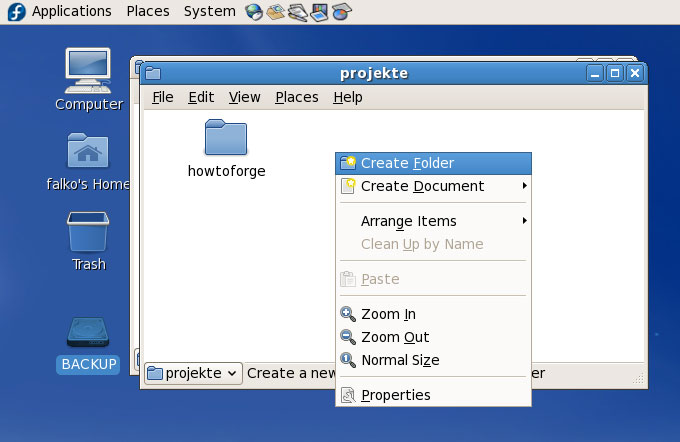
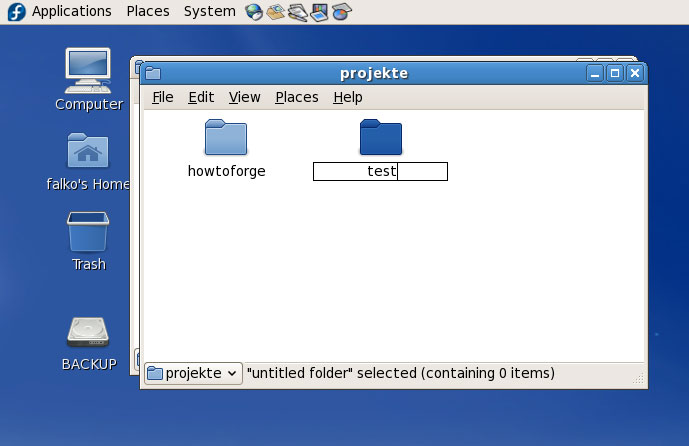
Type in the name of the new folder. If the folder is created without errors, this means that write support is working for our NTFS drive!
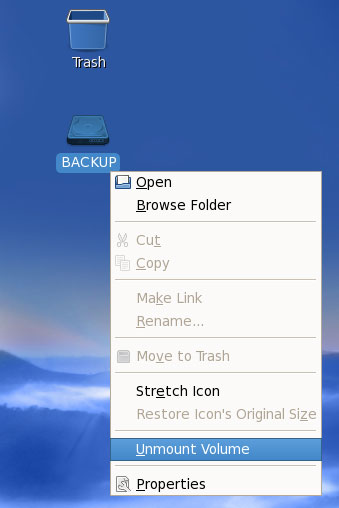
Before you switch off/disconnect your NTFS drive from your Fedora system, you must unmount it (or you risk filesystem damage!). To do this, right-click on the drive's desktop icon and select Unmount Volume:
After the drive's desktop icon has disappeared, you can unplug and switch off the drive.

