
Better Than a Quad-Head Display: My Adventures with "4K" 2160p and Linux
While searching for an upgrade for my aging 1080i television, I became entranced with the progress of 4K "ultra-hd" monitors with resolutions of 3840x2160 pixels. It occurred to me that with all this industry focus on consumer televisions with high resolutions, certainly the next generation of computer monitors would also follow this format.  Inside the box we have the monitor itself along with a couple paper manuals, a remote control with batteries included, a base stand, and an HDMI cable. 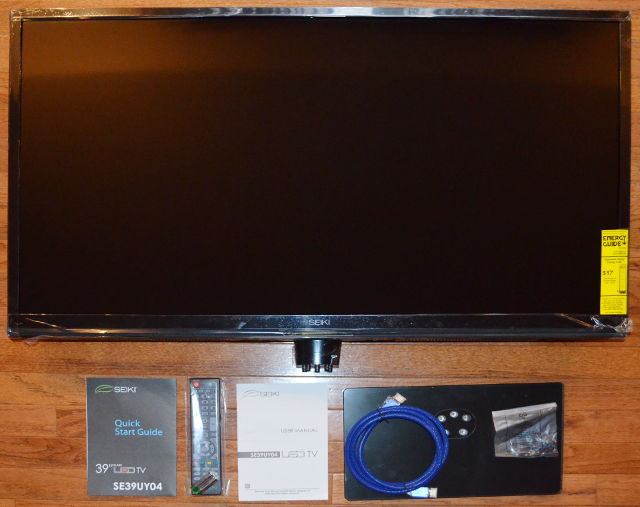 If we look at the back side we see that there are a few mounting options. I'm choosing to attach the base stand, but there is also the option to unscrew the mounting plate if we wanted to set the monitor directly on a desk surface. 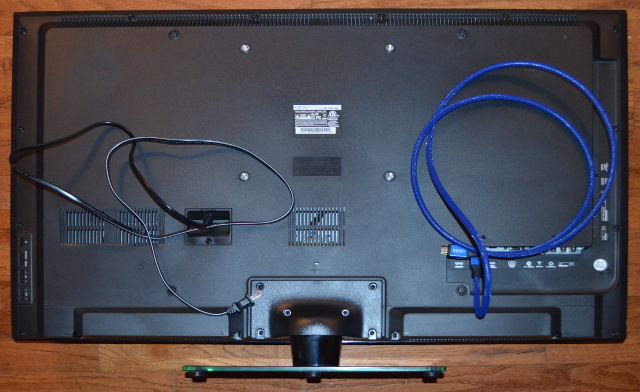 Powering Up Ok, now for the moment of truth. We apply power and watch a magnificent 4K splash image come across the screen. Excitement builds. 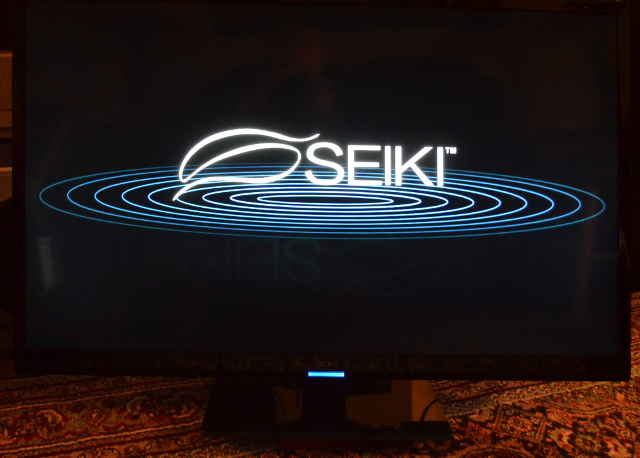 A few quick setup dialogs appear, but we see nothing too complex. 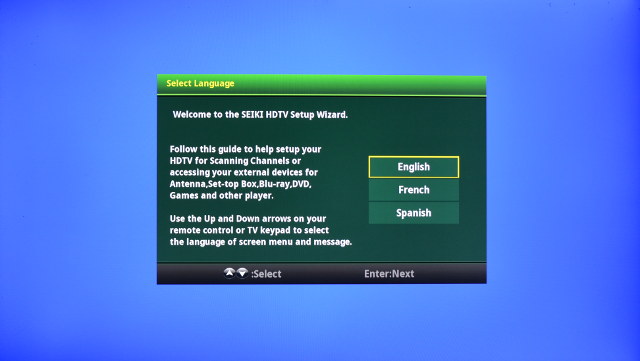 Testing with the C7 Chromebook So we now appear to have a functioning 4K display ready for some signals. I have a couple HDMI sources integrated into my entertainment center that might be good for some quick tests. The centerpiece device is an Asus C7 Chromebook running Fedora. The C7 is normally configured to drive HDMI at 1080i, so this is the easiest first test to try. Simply removing the HDMI cable from our main TV and plugging it into the new display gives us some instant satisfaction with the Seiki coming up in 1080i. Now playing with the monitor settings on the C7 it looks like we can hit 1080p which is a nice improvement, but no higher resolution is supported with the C7. 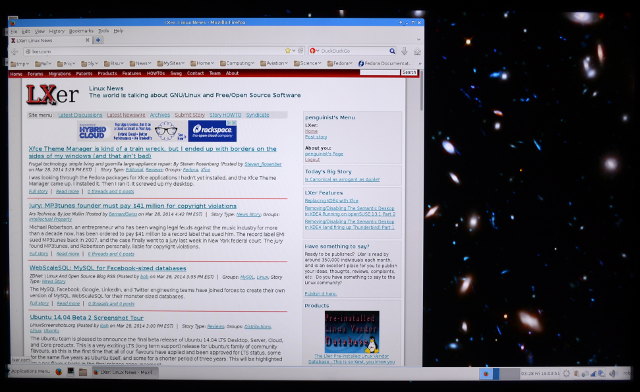 Well, it looks like the C7 test is pointing out an issue. The Seiki comes with a default setting that overscans the image. That's fine when watching movies or live TV, but when you put a computer image on a display you really do want to see every pixel from left to right and top to bottom. After a little fiddling with the setup menus I see that there is a "Zoom Mode" and setting it to "Just Scan" solves the problem. No more overscan, all pixels are now visible. 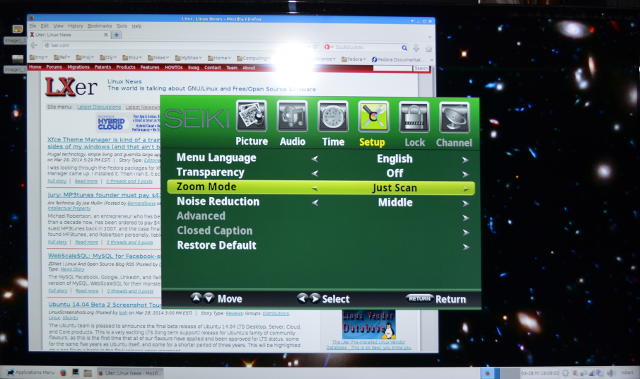 Well, the C7 test was nice but I'm ready for some 4K content. I have heard that Netflix is experimenting with early adopter 4K programming. They have released the second season of "House of Cards" in 4K format, so my next test is to connect my Western Digital media center to the Seiki and feed some Netflix content. How disappointing, even though Netflix has some ultra-hd content, my Western Digital box will only reach 1080p. (Making note to self to be sure to upgrade content devices when I get around to migrating our entertainment center to 4K). First experience with the Radeon R7-240 I'm ready to see some high resolution signals on this monitor, and it looks like my preliminary tests have only given it a 1080p shakedown. But, our real objective here is to get this display working on my desktop workstation, so it's time to unbox the Radeon R7-240 graphics card and move this project into the office area. The R7 card is a single slot pci-e 3.0 card, and it comes packaged with a few pieces of paper, and of all things, a CD filled with Windows drivers. Silly vendors, don't they know they could save money by just asking us which operating system we intend to use. I get some enjoyment from tossing Windows driver CDs into the trash bin, but I have friends who like to use them for target practice. 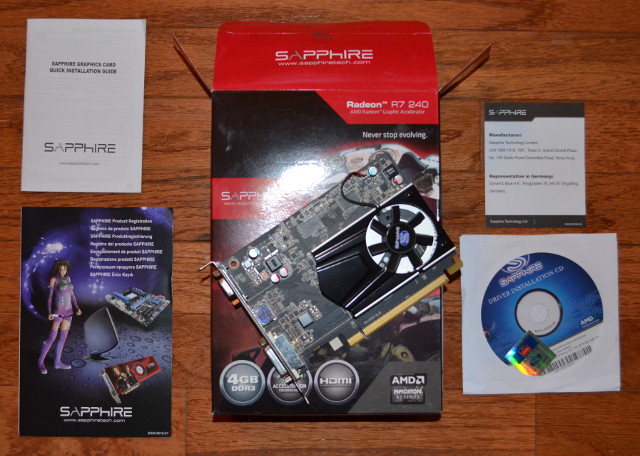 Linux configuration and tweaks The hardware installation is trivial, I just pulled out my dual DVI graphics card and plugged in the R7-240 with HDMI cabling running over to the Seiki. Now we move on to the software side. I've been using the open source "radeon" driver that is supplied with the current Fedora 20 distribution and have been quite pleased with its performance on my dual 1600x1200 monitor configuration, so I have some expectation that it will come through for me also in 4K. Booting up with the R7/Seiki attached, I am pleased to see that all the text modes are supported. The Seiki has a nice feature in that it flashes a resolution status message in the upper right corner whenever it detects and responds to a change. During bootup I'm seeing text coming in at 640x480, then 1280x960, but then when the boot process gets to the point of displaying a full resolution graphic image I am left with a black screen. Ok, this project has been going without a hitch up to this point, but now we need to figure out what's going wrong and come up with a solution. Hmmm, it's already 10PM and I'm still hoping to have this desktop hopping before I go to sleep tonight. I'm focused. Let's see what happens if we boot directly from a Fedora Live Disk. Those live disks usually "just work" these days. Nope, same black screen after the bootup. Next, let's try the Live Disk in maintenance mode. Ahh, that's better. Now we are running with graphics over the R7 to the Seiki. That's progress even though the graphics is running at only 1440x900 pixels, but at least now we are running in our target configuration and we can take a look at the internals and see what's working and what needs to be tweaked. Looking at /var/log/Xorg.0.log shows us that the radeon driver is only supporting the lower resolutions and not our 3840x2160 target resolution. Dang! I'm sure the radeon devs are going to get open source support for the higher resolutions but I want to be using this monitor tonight! I much prefer to stay with open source software for everything I do, but in this case I see that AMD provides proprietary drivers for Linux in both 32 bit and 64 bit configurations. It looks like going with the AMD proprietary drivers will be unavoidable, so I'm downloading the 64 bit AMD Catalyst Display driver version 13.12. AMD provides an easy to use build procedure which I'm running, but the build fails with a complaint that it is looking for kernel 3.7 and Fedora is already up to 3.13. Hmmm, I really don't want to regress back to kernel 3.7, and besides, that would be a lot of work. Hmmm, I see that AMD has a Beta 14.3 driver that was just released two weeks ago. Now I'm really starting to feel like an early adopter. Downloading the Beta 14.3, and now the build completes successfully on the current kernel. Thank you AMD for supporting Linux with your products. A quick reboot into the new driver configuration and YYYYYYEEEEEESSSSS! I have perfect "4K" hardware accelerated 3840x2160 resolution. The goal is reached! Take a look at what a 3840x2160 desktop monitor can hold. It's like having four 1920x1080 monitors in a 2x2 stack but without the seam. Here you can see that I have tons of terms, a gimp edit of a high-res far-galaxy image, the current weather map, qt designer, an active wireshark, a copy of an ebook, and of course a view to the latest LXer newswire. I wish you could see this monitor up close and in its full resolution. This photo must be greatly reduced in order to post on a web page. Reduced to the point where you will certainly not see the detail that is there. When I'm sitting at a normal working distance, each teminal, each app is visible with all the clarity I had with my old dual monitor setup, I just have more screen space and bigger work surface now. It is now 2AM and I'm going to call it a successful day. A total of 35 hours have passed since the point when I made the decision to order this monitor and go ahead with this project, and a lot of things have gone right along the way. Tomorrow I plan to work with this new setup and try to see just how it will change the way I work. 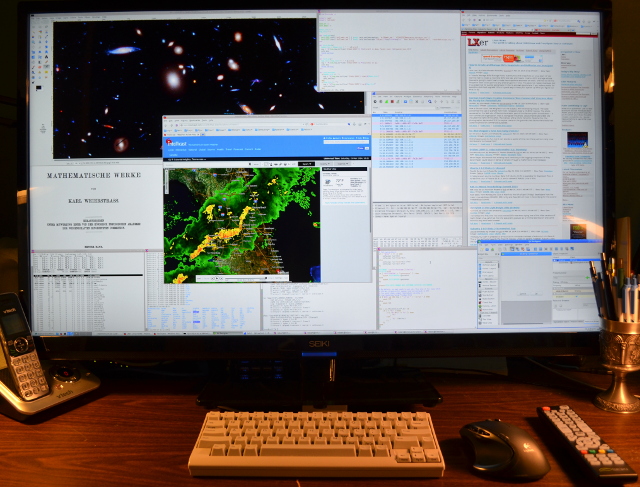 Day 2: Getting used to new operational paradigms It's morning now, and I had a wonderful dream last night. I dreamt that I had replaced my dual monitor system with a new 3180x2160 high-res display on my desktop system. Wait, that wasn't a dream! The first thing I notice on walking into my office this morning is that the Seiki has automatically powered itself down even though I had disabled the "sleep timer" in its menu. I'll have to talk to Seiki on this point. I normally let my monitors run 24/7. However, a quick touch to the power button on the Seiki's remote control brought the monitor back to life exactly as I had left it last night. Well, it might not be a bad thing after all to save some power during long idle periods, so I'm going to classify this for now as "not a problem". Before starting this project I was wondering how happy I would be with 30Hz updates. Well, at this point I have to say that the display appears solid at that update rate with no noticeable flicker whatsoever. Maybe if I was using this setup to watch sports videos this might be an issue, but for me, I'm finding this 30 Hz update rate to be quite satisfactory for workstation duty. Next I'm turning my attention to operational factors. Will this new monitor configuration be workable for me on a long term basis, and what changes to my work style will I want to make to maximize the advantage of the larger workspace? For me, I spend a large amount of my time on the command line in an xterm, and I typically use the tiniest of fonts so that I can display the maximum amount of text in the space available. For this reason, the quality of tiny fonts is of deal-breaker importance to me, and I'm dismayed to be seeing some ghosting on this monitor around the pixels. Not so good. After some fiddling with the Seiki's settings menu I am pleased to discover the culprit. The Seiki "sharpness" control alters pixels for you in the hope that you will like the result. Changing "sharpness" from the default setting of 50 down to 0 completely disables the pixel alteration with the result that we now have a pixel perfect display, even for the tiny fonts that I like to use. You can see in this closeup photo how each pixel now falls into its proper place. My tiny fonts are perfect again. 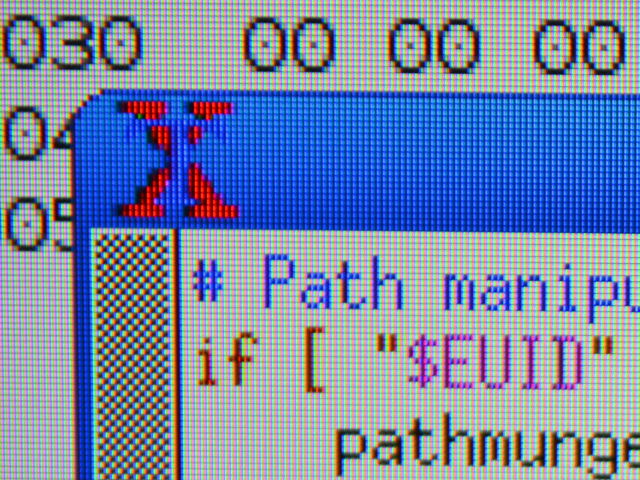 While we are on the subject of tiny fonts, I'd like to do what I can to squash a rumor that seems to be spreading. The myth I keep hearing is that you must go to larger fonts when scaling up to a 4K monitor. This is not exactly true. Do the math. If you double the screen resolution and at the same time you double the screen width, you have done absolutely nothing to the size of a pixel or the physical size of your fonts. So if you are happy with a particular font setting on your 1920 pixel wide monitor, then you will also be happy with exactly that same font on a 4K monitor with twice the width. In my case, I actually see fonts slightly larger physically on the 4K since I've more than doubled the screen width during this upgrade. So, if you have the eyes to see tiny fonts on your 1920 monitor like I do, then you will see them just as well on the Seiki, or if you prefer a larger font on your 1920 monitor, then that same font will feel right for you in the large screen 4K format. Now at this point all technical issues are resolved to my satisfaction and I'm ready to accept this setup as my new daily working environment going forward. What's left is to adapt working paradigms to the new workspace. At this point I've spent a few hours doing real work on this system and I noticed something about myself. I have developed the habit, over the years, of aligning my work to the top of the display. With the new 23 inch monitor height, I am noticing some neck strain starting to emerge. To avoid this, I'm experimenting with a new layout idea. Normally I keep several xterms open with ssh sessions to remote servers doing security and event monitoring. Now I'm playing with the idea of moving these five xterms to the top of the display, with my main work area starting immediately below them. The xterms are still in my peripheral vision and a quick movement of the eyes is all it takes to scan their content. The working space available below the xterms is still much more than I previously had in my dual monitor configuration. This is keeping my eyes focused forward while still making good use of all available space. Summary All in all, I couldn't be more pleased with the way this project went together, and with the end result that emerged. Kudos go to Amazon for their prompt delivery, and to AMD for supporting Linux with their products. I have a feeling that I'll never again be content with "low-resolution" 1920x1080 or 1600x1200 monitors. At this point I'm ready to give a big thumbs-up to 4K as the next logical step for workstation displays. |

|
| Subject | Topic Starter | Replies | Views | Last Post |
|---|---|---|---|---|
| 4K sounds fun | keithcu | 24 | 19,910 | Dec 21, 2014 10:23 PM |
You cannot post until you login.